
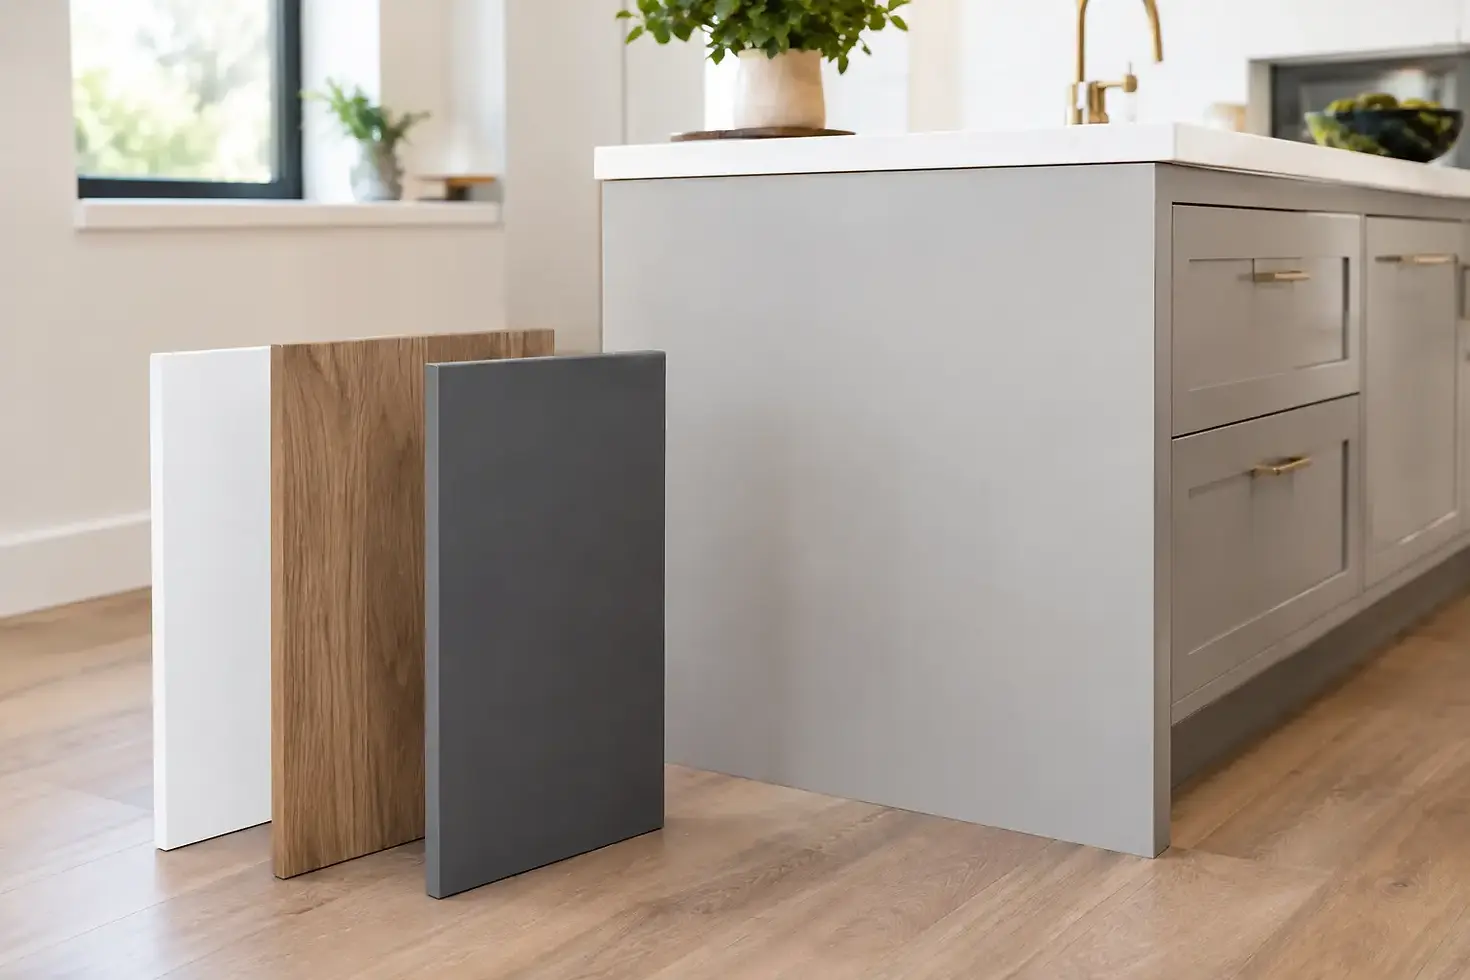
Replacement Kitchen End Panels Explained
An exposed cabinet side can make an otherwise refreshed kitchen look unfinished. Replacement kitchen end panels are the pieces that cover those visible sides, helping old units sit convincingly alongside new doors, drawer fronts and trims. They are a small part of the overall scheme, but getting them right has a noticeable effect on the finished room.
For many kitchen refurbishments, the cabinet carcasses are still sound. Replacing the visible fronts, panels and finishing pieces can be a more practical route than removing the whole kitchen. The key is to treat end panels as part of the design and measuring process, rather than an afterthought once the doors have been chosen.
What are replacement kitchen end panels?
Kitchen end panels are decorative boards fitted to the exposed ends of base, wall or tall cabinets. You may see them at the end of a run of units, beside an appliance housing, on a peninsula, or where a cabinet is visible from a doorway or dining area.
Their main job is visual. A standard cabinet carcass is often made from a different material or colour from the doors. An end panel brings that exposed side into the same finish as the new fronts, creating a more considered appearance. Depending on the layout, it may also hide small gaps between a unit and a wall, or provide a neat surface for a fitter to scribe to an uneven wall.
An end panel is not always simply a board cut to the exact side of the unit. It may need to extend beyond the cabinet front so that it aligns with the doors, or run down to the floor, depending on how the kitchen is designed. This is why dimensions taken from the carcass alone are not always enough.
When should you replace end panels?
If you are changing door style or colour, visible end panels normally need the same attention. Keeping a dated side panel next to a new door can interrupt the look, particularly in a kitchen with open sightlines.
Replacement panels are especially worth considering when a cabinet end is clearly exposed, such as the final unit in a run or the side of a breakfast bar. They can also be useful where previous alterations have left a worn, chipped or mismatched surface.
Not every side needs a panel. A cabinet tightly enclosed by walls, neighbouring units or an appliance may not have an exposed area at all. Equally, a panel may be needed in a place that is easy to overlook, such as the visible side of a wall cabinet when entering the room. Looking at the kitchen from several angles before ordering helps identify these areas.
It also depends on the condition and layout of the existing cabinets. A photograph can help establish the likely scope, but it cannot confirm whether every carcass is suitable or whether a wall is straight. Any existing damage, movement or moisture issues should be addressed before a cosmetic refurbishment is planned.
Matching panels to replacement doors
The simplest approach is to specify end panels in the same range, style and colour as the replacement doors and drawer fronts. This gives the visible parts of the kitchen a consistent finish. A matching plinth, cornice, pelmet or trim can then help carry that finish through the rest of the room where required.
However, matching does not necessarily mean using the same thickness or panel layout everywhere. A plain slab door and a decorative end panel can produce a different visual effect from a door-style panel used on a cabinet side. The right choice comes down to the door design, the amount of side that will be visible and whether the kitchen has traditional or more contemporary details.
Think about edges as well as faces. If a panel will be visible from the side, its finished edges matter. The same applies where a panel finishes against open space rather than a wall. Discussing photographs of the room at the guide-price stage makes it easier to identify what needs to be seen and finished.
Measuring replacement kitchen end panels
Accurate measuring is central to ordering made-to-measure panels. Unlike a replacement door, an end panel may need to account for cabinet depth, door projection, plinth height, wall irregularities and any planned trims. It can also require site cutting around sockets, pipes, skirting or uneven floors.
Start by identifying the intended position of each panel. Is it fitted to the side of a base unit? Does it need to run from the worktop area to the floor? Will it sit beside a tall unit? Is there a visible return at the front? These questions affect both the panel size and the way it will be fitted.
For a self-measuring order, customer-supplied measurements are the customer's responsibility. Measure carefully, record each panel separately and include clear notes and photographs showing the relevant cabinet, wall, floor and surrounding features. Do not assume two apparently similar ends are identical. Older kitchens in particular can have small differences from one end of a run to the other.
Where the Professional Home Survey is available, it can verify exact measurements, quantities and specification before manufacture. This is particularly helpful for kitchens with multiple exposed ends, tall housings, uneven walls or several finishing components. The survey is a measurement and specification service, not fitting or installation. If the surveyed scope materially matches the original guide-price scope, the quoted price remains unchanged.
Details that can change the size required
Panels are affected by more than height and width. The following details are worth flagging early, especially where they are close to an exposed cabinet end:
worktops that overhang the carcass or have shaped edges
doors and drawer fronts that project beyond the cabinet side
plinths, legs or flooring that alter the visible height at the bottom
wall corners, skirting, pipes, sockets and other obstructions
appliances or housings that need clearance for doors, ventilation or access
A fitter can then make sensible allowances during fitting where appropriate. Ordering should be based on the agreed measurement approach, rather than relying on a rough estimate taken from a single point.
Plan panels before placing the supply order
It is usually more efficient to consider doors, drawer fronts, end panels and trims as one refurbishment package. Ordering the doors first and thinking about the exposed sides later can lead to avoidable colour or finish differences, additional measuring and a less coordinated result.
A clear set of photos is a useful starting point. Include wide views of the kitchen, close-ups of exposed ends and any awkward areas, plus images of tall units, peninsulas and appliance housings. From there, you can receive a free guide price based on the visible scope and choose the preferred range, style and colour.
Easy DIY Doors supplies made-to-measure replacement components for customers retaining sound existing units. Once the specification and measurements are confirmed, the supply order can be placed for delivery. Customers remain free to choose their own fitter or tradesperson.
Common mistakes to avoid
The most common issue is forgetting that a new door changes the front line of the kitchen. If an end panel stops flush with the old carcass while the new door sits proud, the panel can look recessed. The intended relationship between panel, door and worktop needs to be considered together.
Another frequent mistake is measuring only the largest visible area without allowing for a wall that is out of square. A panel may need to be scribed during fitting, so the measuring plan should reflect the actual site conditions. There is no single allowance that suits every kitchen.
Finally, avoid treating every exposed surface as an end panel. Some areas may need a different finishing component, while others may not need covering at all. Photographs, a clear layout and accurate dimensions make the distinction much easier to establish before manufacture.
A kitchen refresh often succeeds because the smaller visible details have been planned properly. Replacement end panels may not be the first item on a wish list, but when they match the new doors and are measured for the real room, they help the whole kitchen look complete.


Comments